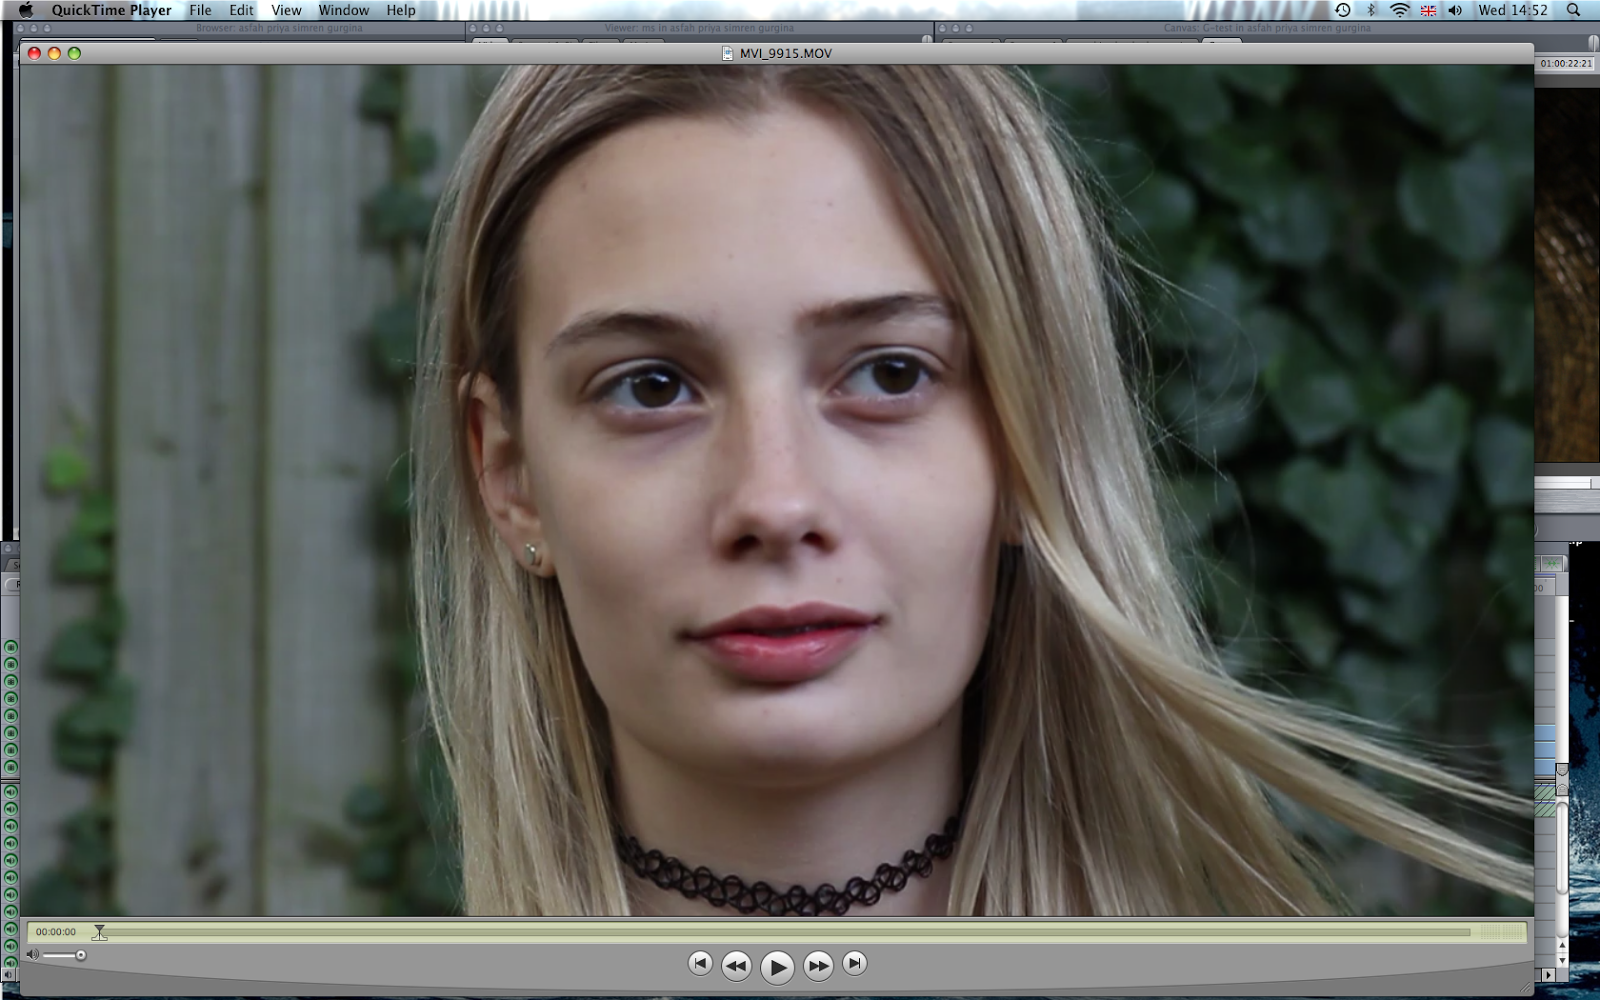
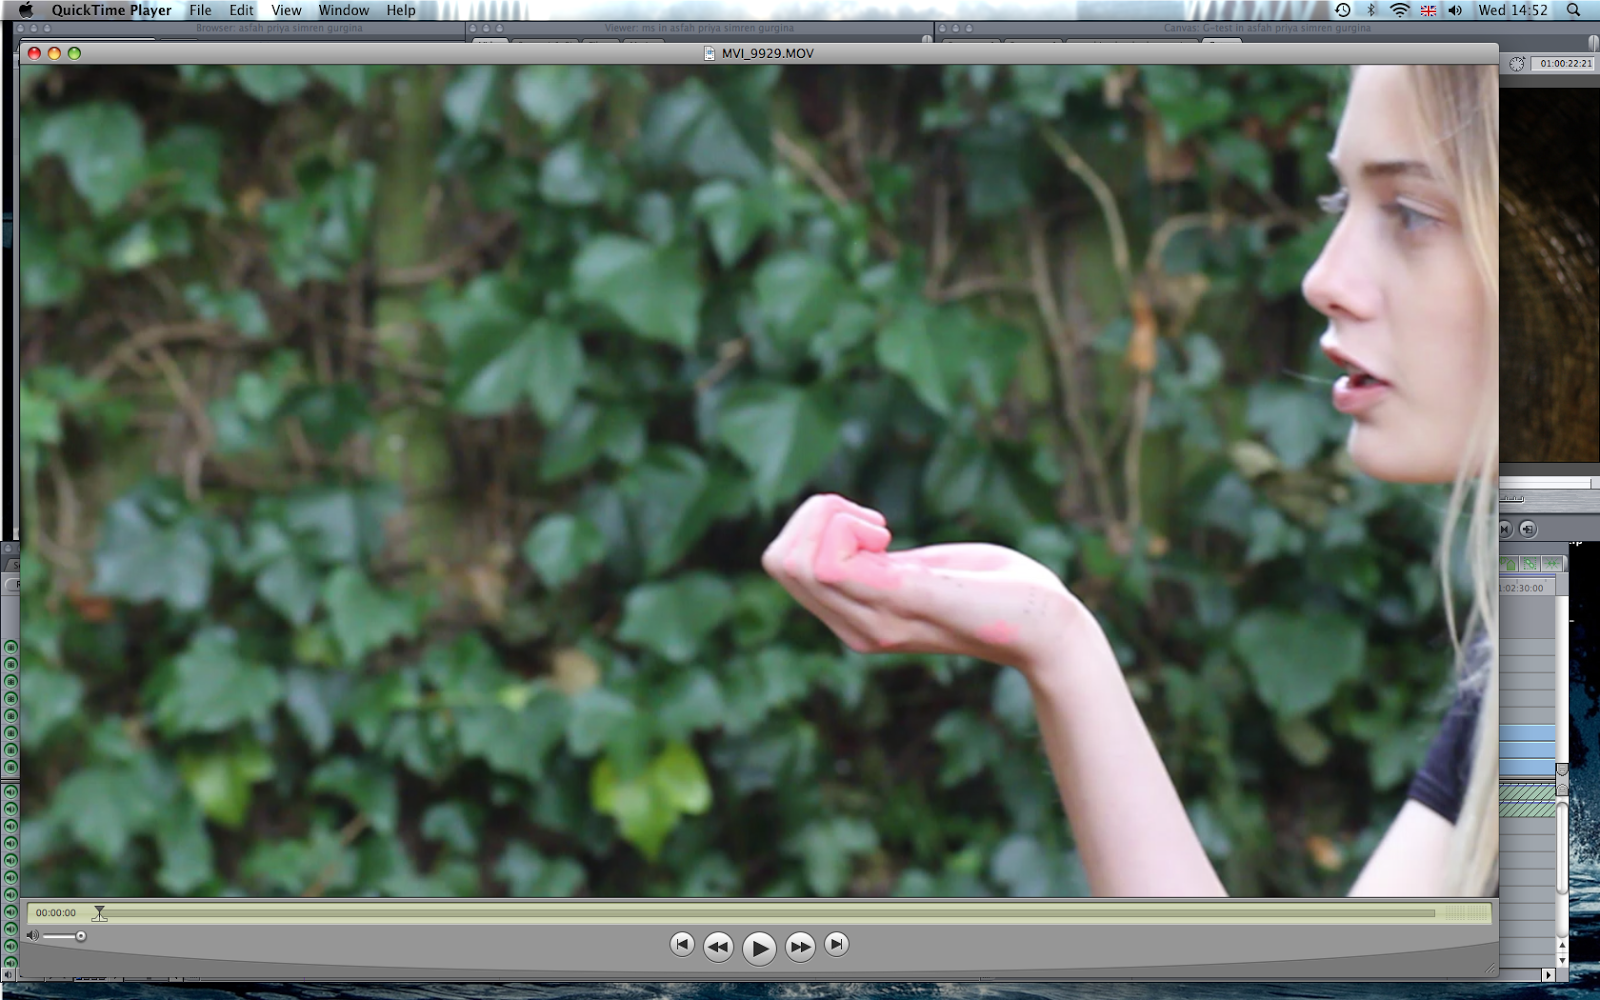
Monday, 20 October 2014

Editing: The Road So Far


So far our production is slowly on its way, we have a team rule which involves any new clips imported onto the sequence to be immediately turned black and white. At first we were randomly putting shots into sequence in terms of what we thought looked good, but we were then advised by a teacher to go for a more structured approach, which led us to the formation of our time graph.


This involved a graph drawn in terms of the song, so when the song decided to build up there would be a higher frequency gradient. During these periods of built up sound, we agreed to have faster cuts (BAM, BAM, and BAM) and matching these to the song’s lyrics.
I also tried out the effect that was commonly used in Pleasant Ville and applied these to our smashing bottle and power paint. This effect worked extremely well with the bottle smash, I mean literally mind blowing. But, it reduced the powder paint clip to a grainy effect which did not look good at all.
Another aspect of music videos which I thought would be interesting to experiment with and see how it looked in our production, was to match the pace to a set of drums before we reached the chorus. This involved a lot of clips, cut to size, in order to mirror the drum beat. The end result of this little project, let me tell you, was amazing. When I tried it again for the second drum beat, it was a lot faster and mirrored the beat to a whole other level.

Wednesday, 8 October 2014

Filming: Day 2

This day was better than our previous filming day, so great that I got a car at the end of it, I kid you not.

We did face some difficulties at the start with our artist turning up late, because we had a time limit again, I started to worry that we might not get enough shots. However, although she did arrive 10 minutes late, we added 10 extra minutes to the time she was meant to finish.

We took some pretty awesome shots and made use of time efficiently, for example while one of us went to get another lens to change or look at the shot list for what we needed to do next, the other would take some random shots of our artist at the subway. We also decided to take some stills on where we thought suited, for the ancillary task as we figured we Kitty may be busy for when the time came to take some still shots.


Later that day, on the evening of that fine Thursday afternoon, we visited my home, a narrow white house that stood among gravel and was considered the ideal place to shoot our next plan of action. Smashing Glass and Burning Rose. A large empty bottle, two stained red sugar glass sheets and pink flowers, the three objects that was the centre of our camera's attention. We experimented with shots against a plain white sheet that would be transforming into our backdrop and without the white sheet. We shot different angles and ways to make use of this empty bottle, rolling it across the floor like I did with the drums in my previous production or putting in a few drops of red food colouring and smashing it (a master piece I was proud of but with the ultimate consequence of making a mess that took a while to clean up, a sacrifice was needed.) 

The burning rose, or flower in this case turned out differently than expected, It wouldn't set alight. So we went for an alternative method and tried wrapping up paper across the flower stem, so we would set the paper alight and automatically assume the flower would set alight as well. However, this happened to have failed and the result of this we found was due to the flower having a lot of water in its stem. While I was searching for a lighter in my draw to set our flowers alight, I found a packet full of sparks and it's safe to say ladies and gentlemen, we set them alight and filmed them, producing- as Asfah repeated countless times- The Buffer effect.


Friday, 3 October 2014

Research & Planning: Quick sketch of a shotlist (uncompleted)


I visited the editing suite to get into my daily routine of giving up my free periods for editing and noticed we were in need of a few shots. So I decided to devise a shot list for our next filming day, which pretty much highlighted what we needed to shoot and the different types of shots. I made sure to do at least one mid shot and close up shot of each scene we wanted to shoot as well as the different angles. Considering we have unlimited time with her, we could take all these different shots and have the extra clips we need.


INSERT SCAN OF SHOTLIST 

Wednesday, 1 October 2014

Filming: Day 1

So after our first ever filming day, as predicted, we were in need of more shots. So we tried to devise a schedule of when we can meet with Kitty (our artist). Although this may seem simple, and I know because I thought arranging a day would be simple, apparently it turns out it was a lot more difficult than expected.

Kitty was a busy person, which therefore meant less time for a shooting. After great lengths of trying to arrange one day where all our filming could be done, we ended up settling on a span of two days with one hour’s time of shooting.

Our first filming day settled on getting as much extra shots, close up shots of her singing and depth of field. The location for this was different to what was recently planned because the abandoned house was out of use and also had the risk of getting ourselves hurt. But, we settled on using a forest that was easily accessible and provided us with the depth of field shots. On this day, Kitty only had 30 minutes to spend with us due to personal reasons and because of that we shot as much as we possibly could.

I was not extremely pleased with how filming went, simply because we had little time and so much to do. The fact that it was a public area, we had many intrusions of the public walking their dogs and this would sometimes be on the footage. But, the good thing was that our lip singing was more clear in these shots and displayed clear knowledge of the words, which is a great benefit to syncing the song with the footage.


.


Researh & Planning: Reflection and Change in Plans (uncompleted)


On our return to school, we started looking through the shots. As we anticipated, we did come across shots we disliked or lacked a certain aspect that would complete the shot in terms of quality. we devised a folder containing our good and bad footages that aided us in clearing which clips we would use for the editing aspect.


SCREEN SHOT OF THINGS TO DO LIST


Looking through these shots was useful in the sense of our next move, as we created a new 'to do' list that specified the shots we needed to re-shoot or perhaps inspirations from these shots, of new ideas or camera angles that we can do. The 'to do' list was also useful for specifying shots that were originally mentioned in the  shot list and storyboard, but due to the nature of the shot, we could not shoot them, such as the rose burning.


The background of our studio set out shot was commented on because of it being simple. Due to this we lacked depth of field, by using a brick wall for example would suffice in terms of creating depth of field as it would enhance the music video by providing more focus on the artist, as well as tapping into our aim of creating an abstract music video.


Sunday, 28 September 2014

Editing: Bring Out The Big Guns (A.k.a- Apple Motion) (uncompleted)


One day I decided to go up to the media suite during one of my free periods and work on another way , other than increasing the frame rate or using the method explained in the previous blog post, that could be used to slow down the experimental smashing glass altogether. Again, seeking help from my old friend, I was referred to Twixtor, a software that could be used with Final Cut Pro.

So, when I was researching ways to use Twixtor and where I could possibly download this software from, as well as the conscious thought that I could put a virus on the Mac for downloading an unknown software, I was referred to this site...

Who needs Twixtor when you have Apple Motion I kid you not this is exactly what the website says, well something among those lines.


This website involved using Apple Motion in which I had the opportunity to decrease the time rate to whatever it is I wanted, which therefore in turn made the clip longer and slower.
This was useful as I did manage to achieve this slow motion effect, and it was probably the highlight of my not-so-eventful-day. I went through a lot of problems trying to achieve this outcome as Apple Motion would close on me, or the clip that was needed never seemed to come up on the screen, or I forgot to do a step that was essential. To cut things short, I had to start and restart with the process of this effect and the final product was this....
INSERT VIDEO


Editing/ Research & Planning: Slow as a Snail (or so we thought)


We wanted to create a shot that involved slowing down our smashed glass. This means the impact, glass falling, the scattering of glass, everything, is going to be as slow as a snail. We wanted to create an impact so forceful and, well of course slow, that we would refer back to the forever smashing glass throughout the music video. Although the smashed glass we had used before was an experimental one, testing the slow motion effect, we still wanted to see what it looked like despite the not so good shot.

So when it was down to the four of us sitting in front of the mac, having no clue whatsoever of how we were going to achieve this effect. We resulted in the aid of my old friend. Google. Google helped me through a lot and I was 99.9% sure it would help us through this, and it did.

We found a YouTube website displaying a step by step guide on how to establish the slow motion effect, so as each step was displayed we mimicked that same step on the Mac. The guide involved opening the clip in Cinema Tools and increasing the frame rate, to the maximum, which in our case was 30fps. However (yes there is a however), the slow motion effect was not as slow as we wanted it to be and the reason for that was because the frame rate had to be increased, when I suggested this to a teacher it was discovered that by doing this majority of the shot would be out of focus and disillusioned.


Slow Motion effect using Cinema Tools


YouTube Video