Wednesday, 24 December 2014

Album Cover: Minor Mistakes (made by yours truly) and Improvements


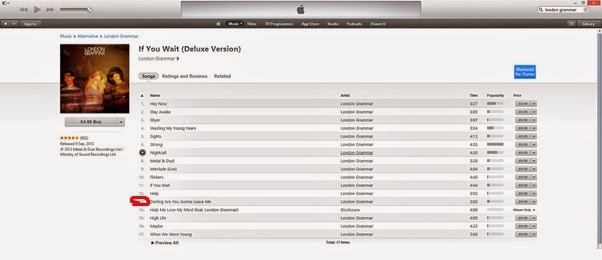
So our experimenting of the day turned into something that would be our final product. We learned a lot of things from out experimental cover, one of which was the album name 'Metal & Dust' that one of us was convinced was the album that had our song in it (guilty as charged). We checked on iTunes and it turned out that 'Metal & Dust' was the EP, and the actual album name was 'If You Wait'


Once we changed that, I was admin on keeping the colour and font size that was used as 'Metal & Dust'. This is because it could be linked back to the sense of 'red' colour that was used in our music video, such as the bottle smashing, and contrasted against the black and white colour scheme, in order to grab the audience’s attention.


Album Cover: Colour, Positioning and Font for 'Metal & Dust'

The album name 'Metal & Dust', I suggested we could put in brick reddish/ brownish colour, the colour of rust. This is because 'Dust' rhymed with rust and it is a chemical reaction that occurs between metal (iron in particular) and water or air moisture well that's the scientific term). But, another significant factor as to why I thought it was a suitable colour to use as the album name was because it acted as a symbolic tool of being the centre of attention, by standing out against the black and white colour scheme, as well as conforming to our music video. Creating a sense of brand identity that linked these two products together.


The positioning was similar to London Grammar, or any artists of this day and age, to be centred in the middle with large capital letters, with the album name underneath it in a smaller sized font.

Although this was an experiment, we achieved progress with our brains combining and possible considered using this idea as our original production.

Digipak Research: Kasabian Empire Album Magazine Advert Analysis


Wednesday, 3 December 2014

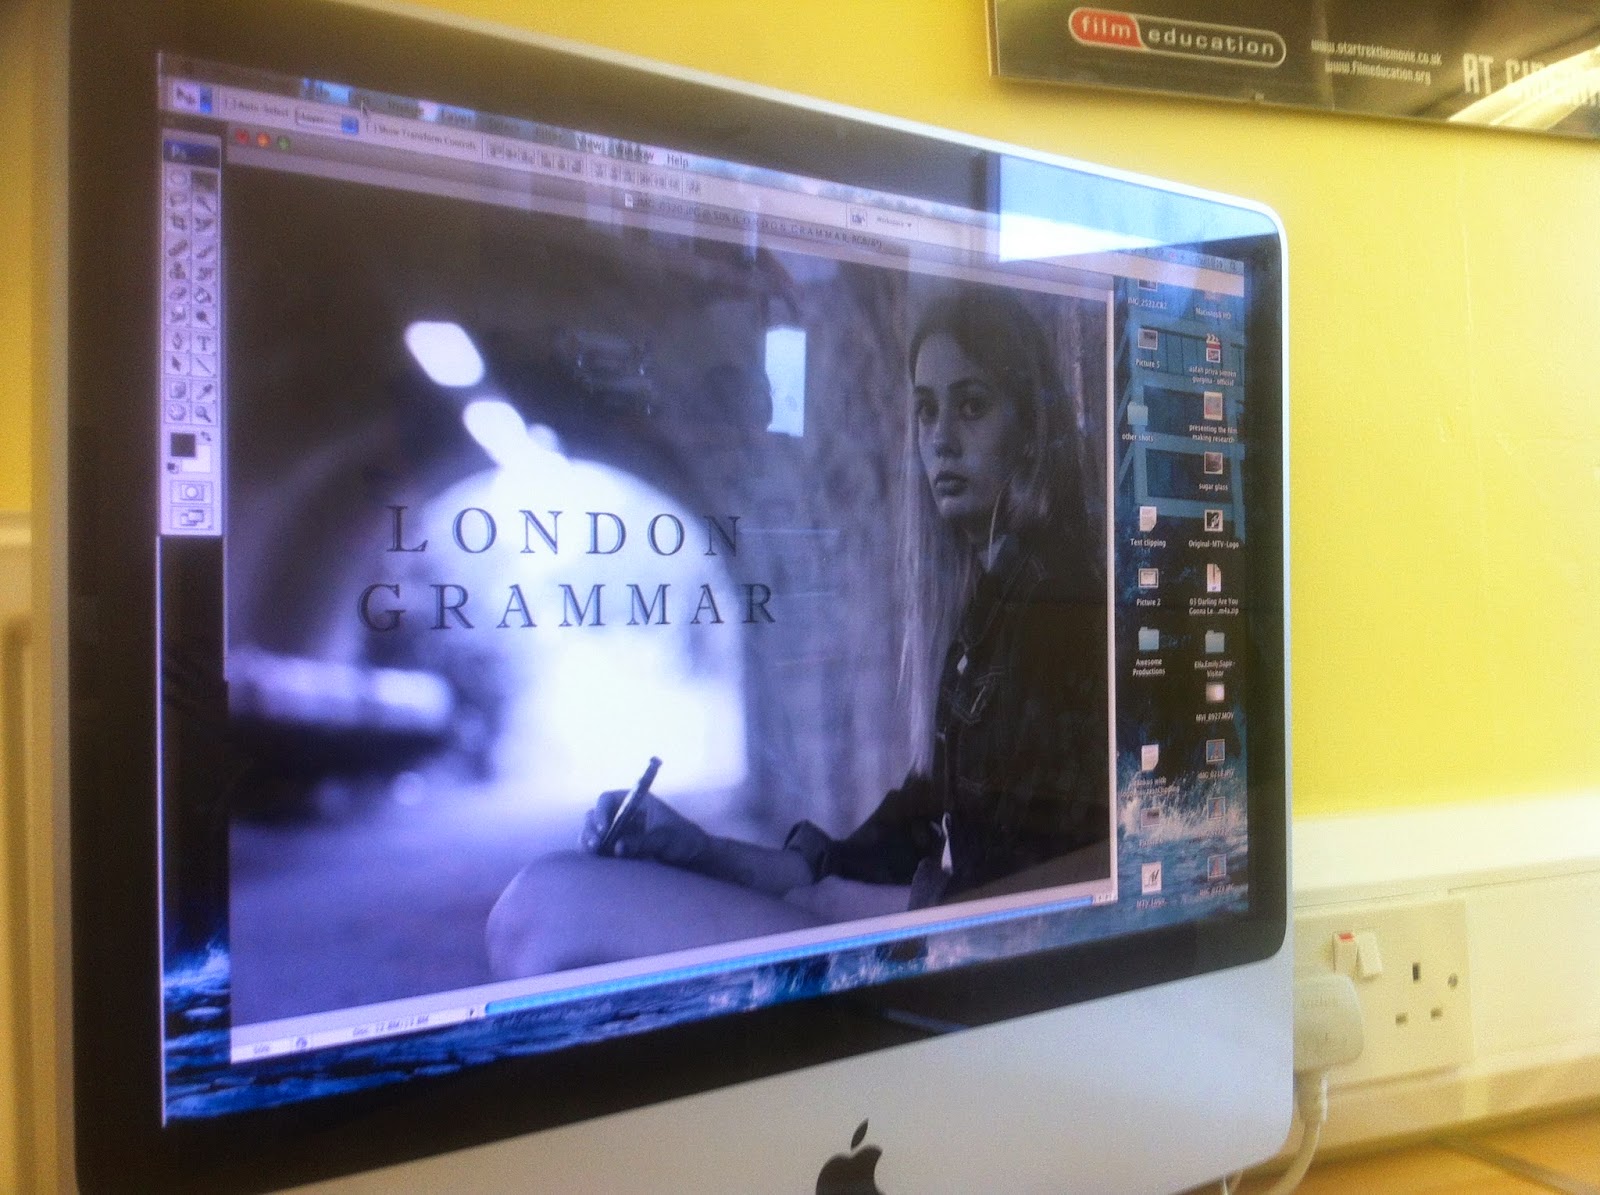
Album Cover: How good does this image look in Photoshop, with the text ofcourse

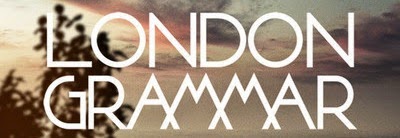
London Grammar's font used
 

Experimenting with this picture was our starting point for the album cover that we were to produce as our Digipack. So, the artist's name and the title of the album were inserted in accordance to the black and white image itself, bearing in mind the font type London Grammar used.

In order to avoid completely copying the artist’s font type, we decided to start experimenting with different fonts that we thought were similar to the artist, but not entirely the same.

We decided we are going to use this image as our album cover, because of the way our artist was presented. Similar to the 'Meet the Vamps' album cover, our artist breaks the fourth wall by looking directly at the audience a conventional aspect of album covers.


Considered Text


Sunday, 23 November 2014

Overview of Editing


In my opinion, the editing process ran smoothly. Although there was a couple of bumps and crack along the way with the loss of sync and style of editing. Nevertheless, it was a smooth transmission that had everyone in our team contributing to the process, whether it be editing or simply voicing opinions and ideas.

In terms of my contribution to the editing process, I acquired the use of some of my free periods to test new ideas and themes that could possible embed into our music video, whether it be something that conformed to the genre such as a slowed down speech change for clips presented in the instrumental opening, or overlays during the slow sections of the song, as well as the usual trial and error approach.

The use of timescales whereby we plotted dramatic tempo increase or lowered tempo, aided us in advance with clip placements and pace changes.


Meeting The Deadline


We managed to finish our music video before our deadline was over, as well as publishing it on YouTube. A week before the deadline, issues and concerns were raised within our group regarding whether or not we will finish this before the deadline. But, we successfully managed to complete this before the deadline as well as having a private screening of our music videos with our other class.

Letter-boxing & Title


Letter- boxing was something we did towards the ending or completion of our production, it was more or less an on- going thing towards the deadline date which marked the stage we were at regarding our production. Of course during the stage of losing lip sync to  sound, we had to re- apply the letter-boxing effect as a crash procedure whereby it was a constant motion of applying this effect to every clip the music we came across in the music video.


The title was acquired by a team member. She chose this specific title option on Final Cut Pro

MTV Logo


We needed a logo to put on our music video; the most obvious logo we would use is MTV. However we went through the phase of deciding which one would suit our music video, which meant we had to research each sub-genre individually and see how it would fit our music video.  


It was hard to depict which sub-genre would apply to our music video and reason for this. However, a member of our group argued that this kind of music video would play and be considered as chart music. I further agreed with this because I have noticed a change in the taste of music, Indie music is gradually leaking into mainstream music and is something that is widely listened to by the mass audience.  As a result of this predicament, we came to the conclusion of not inserting a sub-genre based logo, but applying a generic MTV logo that stands out and is recognized by the mass audience.

The Big Hunt for Overlay


It was an icy cold October when I was cooped in the media suite, taking a break from editing our music video with the song that never left my head for the past month; I went on YouTube, hooked by the school's previous productions and came across this...


I was immensely fascinated by a certain technique used in this music video that I felt could be applicable and provide us with the adrenaline rush needed in aspects of the song where sound was intensified.


After thorough research, I found that this was an effect called overlay that was achieved by placing a clip above another clip (just as shown below) then pressing overlay to allow both of them to play on screen


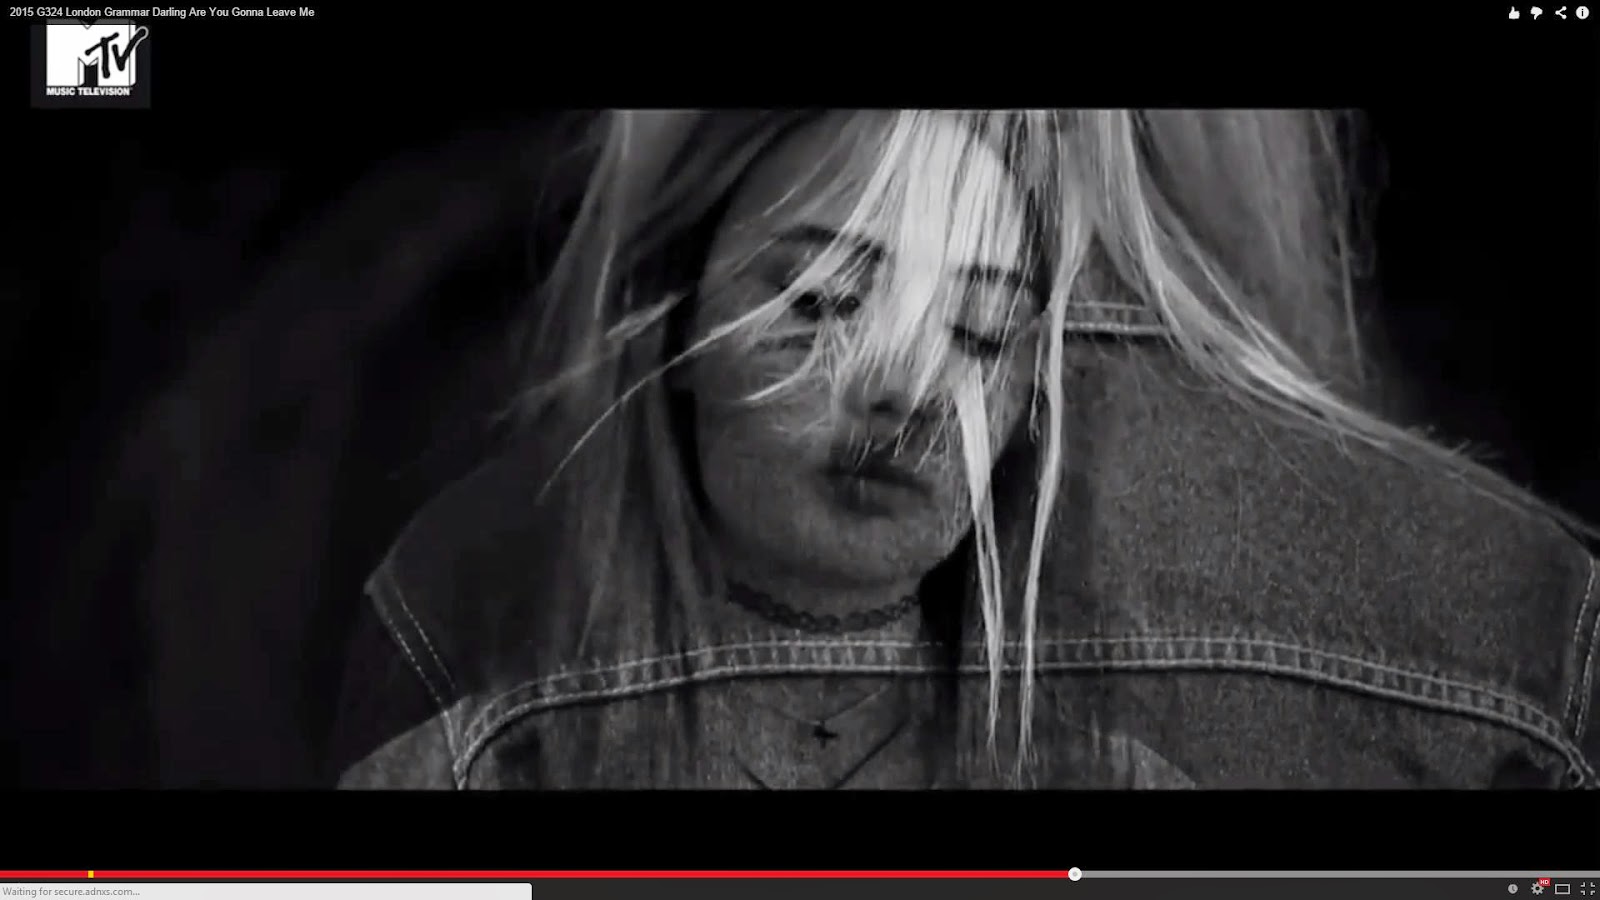
As a result, we came to this image that we decided to keep in the music video


This effect was also placed on other clips that allowed us to keep up with the tempo increase during and after the bridge of the song, these clips are as shown below:


Friday, 14 November 2014

Editing: Little Tweeks and Changes


Following suit the development of a structured and completed sequence, as well as the necessary effects, our production was close to its completion.

Little tweaks and changes had to be made and these mainly focused on the clips positioning in the sequence or perhaps creating a fast paced aspect to the music video in conjunction to the drum beat. We also had to make sure each clip that was colour graded had the same shade of colour grade throughout the video. For example, the studio shots  (that was not shot in the studio but was shot in Asfah's bedroom) when graded to black and white, it was a lot lighter than the subway shots. Moreover, we looked through each clip and compared them to a standard colour graded clip used towards the beginning of the music video. For example:

Our standard template of colour grading for any subway clips is...


Our standard template of colour grading for any studio clips is...


Our template of colour grading for any studio clips is...

Monday, 10 November 2014

Editing: Researching


Carrying out research, even as simple as 'How to edit a music video' can be considered as a well-known starting point to almost anyone, so well-known that I am sure many people would not even have to go through the process of researching ways to edit a music video. In terms of editing a music video or any media production in that matter, the understanding could be to cut, drag and make a sequence out of clips. In all honesty, during the editing process of our film openings I considered this stereotypical simplicity of editing. Yet was challenged during this film opening and completely overthrown by challenges that were in a constant requirement to tackle for our music video.


https://www.youtube.com/watch?v=fyn7FYUONgY&feature=player_embedded

Aside from ’in processing' of adding quick cuts and installing close up shots to the sequence, our sequence was going well. Yet, that same feeling, that I am sure every director, editor, producer would have at some point in their lives, cascaded our production, 'our production lacked something'

 The need to act on that feeling was there, so I did some basic research. I came across a video that gave a demo on 'How to edit a music video', me being me, I decided to click on it. It wasn't necessarily the context of the video I was particularly focusing on; it was the procedure the instructor decided to take that sparked my interest because it was a logical and organised procedure. Because of my impulse to work in trial and error, to see where things take me, I used this technique of using markers and syncing all the clips at the start before I start making my cuts. But, I am sad to say it did not work as well as I planned, simply because the level of cuts required was too complex as opposed to the simplicity of the video and the procedure was discarded.


https://www.youtube.com/watch?v=rNxiKR6PKAY&feature=player_detailpage


The sugar glass and the tinted bottle was deliberately red, because I wanted to get the Pleasantville effect on board. I visited different sites on how to create the Pleasant Ville effect which varied from written instruction, to visual demonstrations, but the only good demo I found was on my good ol' friend YouTube provided a demo video for this effect and how to get it to its finest. After numerous efforts in making sure the whole object bottle was red, while the background was black and white, I succeeded in causing this effect on my smashing bottle and included this in the music video.  

Filming/ Editing: Artistic collage


Monday, 20 October 2014

Editing: The Road So Far- Feedback


Constructive Criticism we received was something we got a lot, which I mean gave us something to thrive on, in terms of our production. These are some concepts we were asked to develop and focus our production on:


As you can tell, I mean its all there in black and white, a lot of the feedback we had received pointed out similar areas that we had to focus on more to get our production to top notch.


Editing: The Road So Far


So far our production is slowly on its way, we have a team rule which involves any new clips imported onto the sequence to be immediately turned black and white. At first we were randomly putting shots into sequence in terms of what we thought looked good, but we were then advised by a teacher to go for a more structured approach, which led us to the formation of our time graph.


This involved a graph drawn in terms of the song, so when the song decided to build up there would be a higher frequency gradient. During these periods of built up sound, we agreed to have faster cuts (BAM, BAM, and BAM) and matching these to the song’s lyrics.
I also tried out the effect that was commonly used in Pleasant Ville and applied these to our smashing bottle and power paint. This effect worked extremely well with the bottle smash, I mean literally mind blowing. But, it reduced the powder paint clip to a grainy effect which did not look good at all.
Another aspect of music videos which I thought would be interesting to experiment with and see how it looked in our production, was to match the pace to a set of drums before we reached the chorus. This involved a lot of clips, cut to size, in order to mirror the drum beat. The end result of this little project, let me tell you, was amazing. When I tried it again for the second drum beat, it was a lot faster and mirrored the beat to a whole other level.

Wednesday, 8 October 2014

Filming: Day 2

This day was better than our previous filming day, so great that I got a car at the end of it, I kid you not.

We did face some difficulties at the start with our artist turning up late, because we had a time limit again, I started to worry that we might not get enough shots. However, although she did arrive 10 minutes late, we added 10 extra minutes to the time she was meant to finish.

We took some pretty awesome shots and made use of time efficiently, for example while one of us went to get another lens to change or look at the shot list for what we needed to do next, the other would take some random shots of our artist at the subway. We also decided to take some stills on where we thought suited, for the ancillary task as we figured we Kitty may be busy for when the time came to take some still shots.


Later that day, on the evening of that fine Thursday afternoon, we visited my home, a narrow white house that stood among gravel and was considered the ideal place to shoot our next plan of action. Smashing Glass and Burning Rose. A large empty bottle, two stained red sugar glass sheets and pink flowers, the three objects that was the centre of our camera's attention. We experimented with shots against a plain white sheet that would be transforming into our backdrop and without the white sheet. We shot different angles and ways to make use of this empty bottle, rolling it across the floor like I did with the drums in my previous production or putting in a few drops of red food colouring and smashing it (a master piece I was proud of but with the ultimate consequence of making a mess that took a while to clean up, a sacrifice was needed.) 

The burning rose, or flower in this case turned out differently than expected, It wouldn't set alight. So we went for an alternative method and tried wrapping up paper across the flower stem, so we would set the paper alight and automatically assume the flower would set alight as well. However, this happened to have failed and the result of this we found was due to the flower having a lot of water in its stem. While I was searching for a lighter in my draw to set our flowers alight, I found a packet full of sparks and it's safe to say ladies and gentlemen, we set them alight and filmed them, producing- as Asfah repeated countless times- The Buffer effect.


Friday, 3 October 2014

Research & Planning: Quick sketch of a shotlist (uncompleted)


I visited the editing suite to get into my daily routine of giving up my free periods for editing and noticed we were in need of a few shots. So I decided to devise a shot list for our next filming day, which pretty much highlighted what we needed to shoot and the different types of shots. I made sure to do at least one mid shot and close up shot of each scene we wanted to shoot as well as the different angles. Considering we have unlimited time with her, we could take all these different shots and have the extra clips we need.


INSERT SCAN OF SHOTLIST 

Wednesday, 1 October 2014

Filming: Day 1

So after our first ever filming day, as predicted, we were in need of more shots. So we tried to devise a schedule of when we can meet with Kitty (our artist). Although this may seem simple, and I know because I thought arranging a day would be simple, apparently it turns out it was a lot more difficult than expected.

Kitty was a busy person, which therefore meant less time for a shooting. After great lengths of trying to arrange one day where all our filming could be done, we ended up settling on a span of two days with one hour’s time of shooting.

Our first filming day settled on getting as much extra shots, close up shots of her singing and depth of field. The location for this was different to what was recently planned because the abandoned house was out of use and also had the risk of getting ourselves hurt. But, we settled on using a forest that was easily accessible and provided us with the depth of field shots. On this day, Kitty only had 30 minutes to spend with us due to personal reasons and because of that we shot as much as we possibly could.

I was not extremely pleased with how filming went, simply because we had little time and so much to do. The fact that it was a public area, we had many intrusions of the public walking their dogs and this would sometimes be on the footage. But, the good thing was that our lip singing was more clear in these shots and displayed clear knowledge of the words, which is a great benefit to syncing the song with the footage.


.


Researh & Planning: Reflection and Change in Plans (uncompleted)


On our return to school, we started looking through the shots. As we anticipated, we did come across shots we disliked or lacked a certain aspect that would complete the shot in terms of quality. we devised a folder containing our good and bad footages that aided us in clearing which clips we would use for the editing aspect.


SCREEN SHOT OF THINGS TO DO LIST


Looking through these shots was useful in the sense of our next move, as we created a new 'to do' list that specified the shots we needed to re-shoot or perhaps inspirations from these shots, of new ideas or camera angles that we can do. The 'to do' list was also useful for specifying shots that were originally mentioned in the  shot list and storyboard, but due to the nature of the shot, we could not shoot them, such as the rose burning.


The background of our studio set out shot was commented on because of it being simple. Due to this we lacked depth of field, by using a brick wall for example would suffice in terms of creating depth of field as it would enhance the music video by providing more focus on the artist, as well as tapping into our aim of creating an abstract music video.


Sunday, 28 September 2014

Editing: Bring Out The Big Guns (A.k.a- Apple Motion) (uncompleted)


One day I decided to go up to the media suite during one of my free periods and work on another way , other than increasing the frame rate or using the method explained in the previous blog post, that could be used to slow down the experimental smashing glass altogether. Again, seeking help from my old friend, I was referred to Twixtor, a software that could be used with Final Cut Pro.

So, when I was researching ways to use Twixtor and where I could possibly download this software from, as well as the conscious thought that I could put a virus on the Mac for downloading an unknown software, I was referred to this site...

Who needs Twixtor when you have Apple Motion I kid you not this is exactly what the website says, well something among those lines.


This website involved using Apple Motion in which I had the opportunity to decrease the time rate to whatever it is I wanted, which therefore in turn made the clip longer and slower.
This was useful as I did manage to achieve this slow motion effect, and it was probably the highlight of my not-so-eventful-day. I went through a lot of problems trying to achieve this outcome as Apple Motion would close on me, or the clip that was needed never seemed to come up on the screen, or I forgot to do a step that was essential. To cut things short, I had to start and restart with the process of this effect and the final product was this....
INSERT VIDEO


Editing/ Research & Planning: Slow as a Snail (or so we thought)


We wanted to create a shot that involved slowing down our smashed glass. This means the impact, glass falling, the scattering of glass, everything, is going to be as slow as a snail. We wanted to create an impact so forceful and, well of course slow, that we would refer back to the forever smashing glass throughout the music video. Although the smashed glass we had used before was an experimental one, testing the slow motion effect, we still wanted to see what it looked like despite the not so good shot.
So when it was down to the four of us sitting in front of the mac, having no clue whatsoever of how we were going to achieve this effect. We resulted in the aid of my old friend. Google. Google helped me through a lot and I was 99.9% sure it would help us through this, and it did.

We found a YouTube website displaying a step by step guide on how to establish the slow motion effect, so as each step was displayed we mimicked that same step on the Mac. The guide involved opening the clip in Cinema Tools and increasing the frame rate, to the maximum, which in our case was 30fps. However (yes there is a however), the slow motion effect was not as slow as we wanted it to be and the reason for that was because the frame rate had to be increased, when I suggested this to a teacher it was discovered that by doing this majority of the shot would be out of focus and disillusioned.


Slow Motion effect using Cinema Tools


YouTube Video


Thursday, 25 September 2014

Research & Planning: Presenting- Film making research


Click On Me Please :)


I remade some sugar glass but added red food colouring to create the colour red, this colour is mentioned quite a lot in the song and would be a good contrast against the black and white. However shooting the smashing glass was a problem and again I resulted in Google. I came to the conclusion that shooting in a studio like setting for this particular shot was the best approach towards this and I swerved my direction towards researching ways to create a studio set out at home.

(This is mentioned in the slide share)


Thursday, 18 September 2014

Filming: The Aborted Mission of the Drama Studio, Improvisation and The Subway


I'd like to say this day went well, but the level of difficulties we faced dropped from a 'well' to a 'not well'. However, I was tremendously proud of our intuitive and our motivation even when things were not looking so bright.

So as planned, we visited the school upon solid grounds of Simren sending Mr Piggot an email regarding our arrival as well as the permission to use the studio. Yet, little did we know that the deserted, flying tumbleweed school was in fact a problem for our filming. Apparently Mr Piggot sent an email on the morning of our arrival, informing us that supervision of a teacher was required and unfortunately was not provided, thus resulting in the cancelling of using the drama studio.
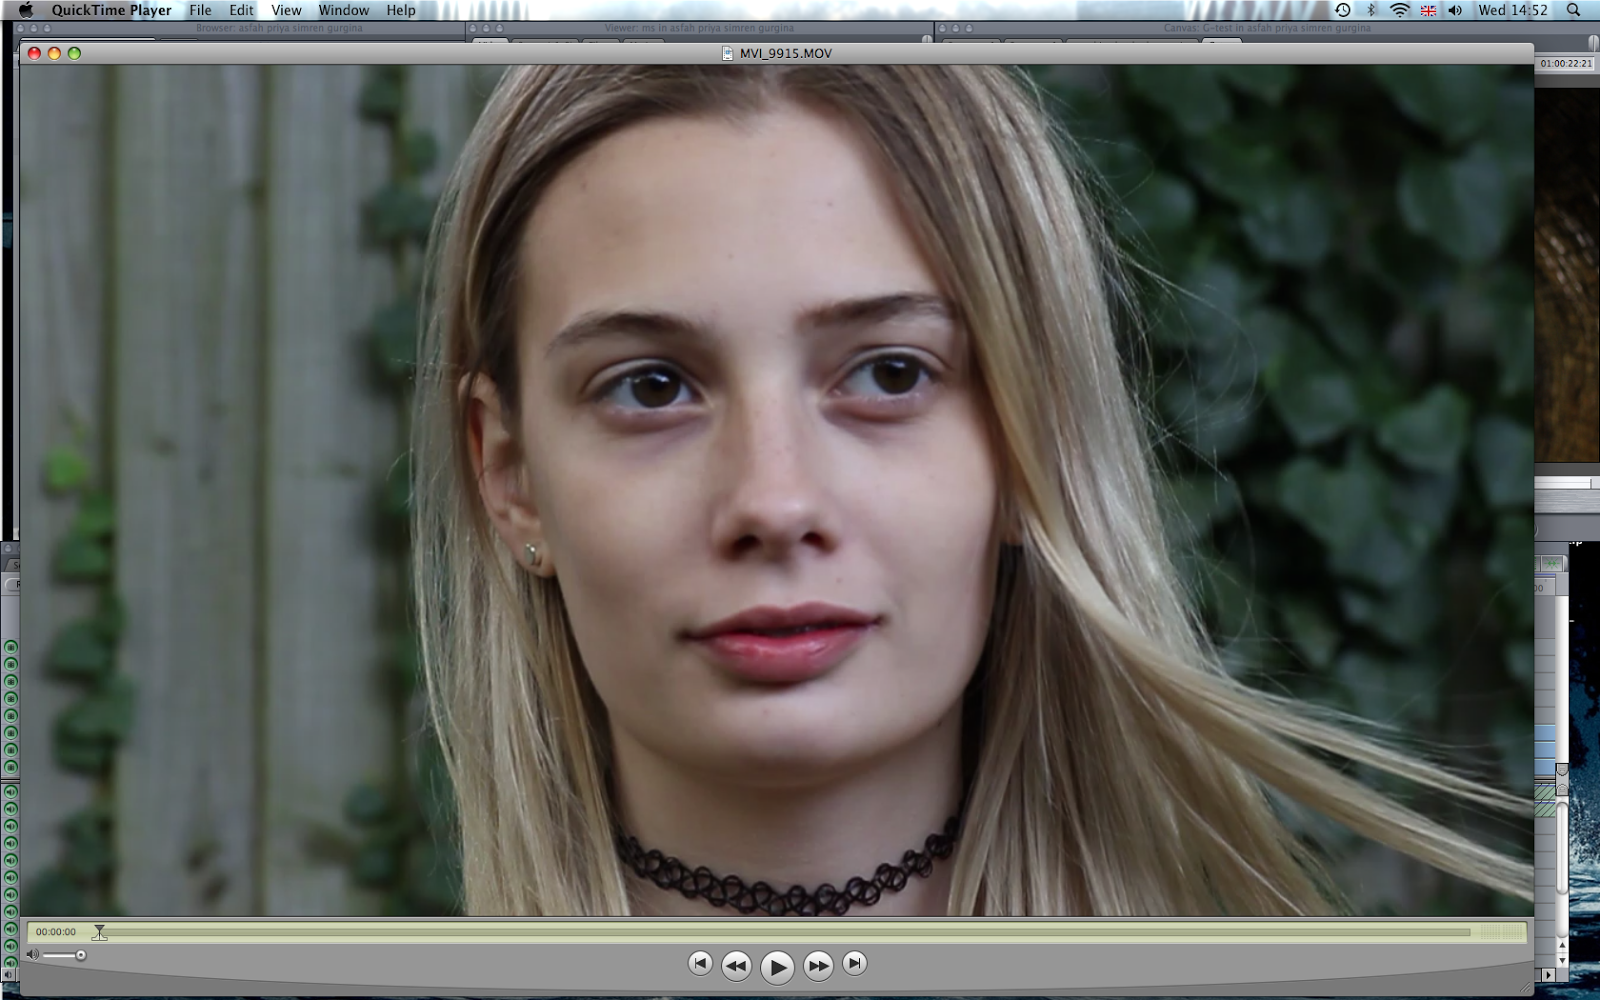
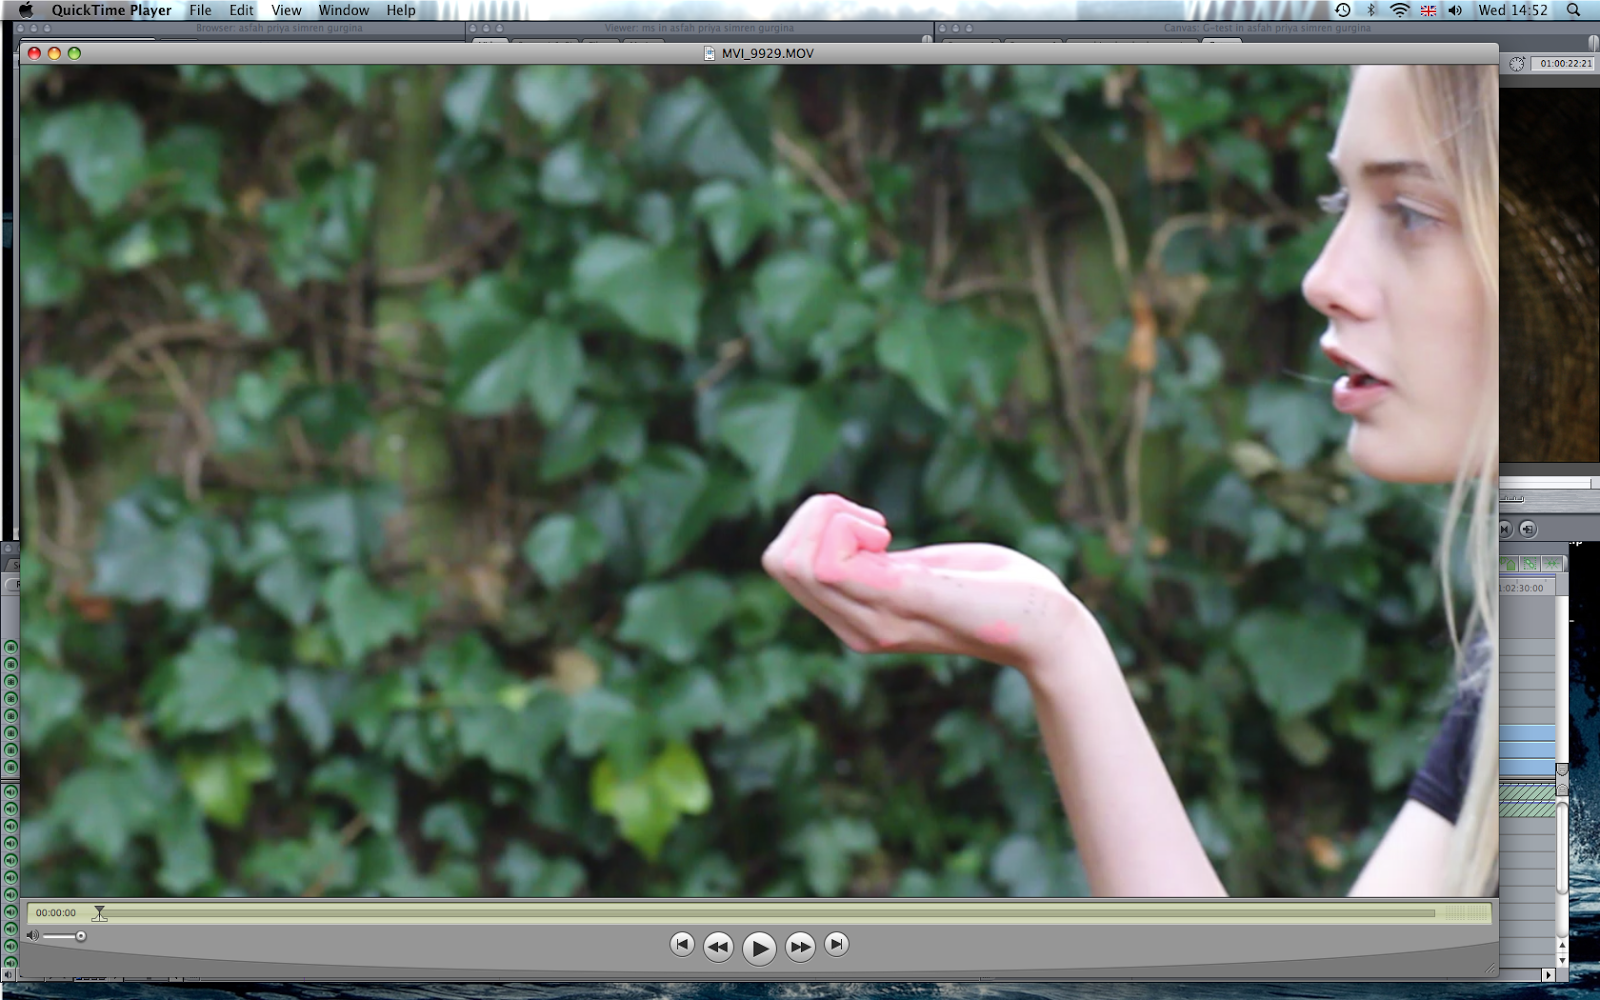
We solemnly walked to our friend’s house to collect the equipment, with the question occupying everyone's mind, what are we going to do now?

I suggested we could go to a studio we were previously looking at for our filming, but the environment of the studio- we all agreed upon without hesitation- did not suit the song, nor our aim. So, Asfah set her cards down, by laying out the idea of using her bedroom blank wall and we found ourselves walking back to Asfah's home.

After lunch, kindly prepared by Asfah's mother (and oh so delicious), we set to work, improvising as best as we could. Close-ups, mid-shots, low angle, high angle, everything we though fit, we did with the majority being master shots. We even went to the extent of placing raw onion under our Artists eye, in order to achieve the extreme close up shot of a tear falling, which I am glad to say looked amazing on the camera.


After that, we headed outside to test the positioning of the camera in preparation for smashing the glass by smashing ice. After a few trials of that, we removed the training wheels and the two sugar glass tablets (you could say), were brought out. Our first smash did not end well as only half of the impact was recorded, the second smash, however, was in the frame and perhaps the highlight of our exhausting day.

Our next location was The Subway, now this was a public place, therefore the general public would use this rite of passage, which funnily enough they did. This was not much of a problem as having filmed at Boulters Lock for my previous two minute opening you learn to avoid the weird glances and stares people sometimes throw you, as well as avoid getting in their way. We followed our shot list and any additional shot ideas were also filmed, one of which was the glitter, where we had our artist standing in the middle of the subway (where of course the lighting was key), our camera set up on the tripod and the four of us out of the frame with uncapped lids of glitter tubes used to throw at the artist.


Wednesday, 17 September 2014

Filming: The Case of the Sugar Glass


Thus, on 4th August 2014, the filming crew and I set out on our journey as a professional filming team, little did we know the difficulties we had to face.

On the day, we set up home base at Asfah's house as it was the prime factor of creating our sugar glass. Each member of our group was assigned to bring required items to home base A.K.A Asfah's house, for instance I was to bring Sugar and glitter (an alternative source due to the difficulty in finding red powder). Our actress has arrived, well taken care of and in the appropriate attire, our original plan was to visit the school while two of us went to collect the camera equipment from a friend who recently filmed her music video, that is after the sugar glass was made and was in the process of cooling down.

However, trouble was around the corner. We faced great difficulty in finding the ingredients mentioned in the link, that we were back to square one- researching simple methods in making sugar glass and this time we included alternative sources such as using visual guides on YouTube.


Again, we faced difficulties finding ingredients and equipment that were essential with this guide and resulted in looking for an approachable, as well as equipment sufficient method of making sugar glass.


This alongside another YouTube video that Asfah's mother found, were used as guides to make two sheets of sugar glass. Due to glucose sugar being difficult to find in local stores, I found a British equivalent to the substance which we had available, something that after an hour or so of researching only came to mind.


Monday, 15 September 2014

Research & Planning: Sugar Glass


In terms of finding useful and safe means of smashing glass and having the ability to film this impact without harming ourselves and causing damage to the camera, I was advised this technique by a media company called Brainstorm, editor. During, my weeks’ worth work experience with the company, I stressed the issue we were currently facing due to the effect we had planned on achieving with this smashing glass and was instantly recommended on this idea.

I immediately asked the editor to send me this link which I later shared with the rest of my group, and our plan was set in motion to use this method.